Tuesday 11 December 2012

"Long Ponds"

Latest finish - inspired by where I walk my dogs in summer - not autumn and winter as this is shoot land and the pheasants are out! Wouldn't be popular with the gamekeeper if we went at this time of year.

I took lots of photos on several occasions and when I looked back at them, the landscape was all about line - tree trunks, reflections on the water, shadows, the long ponds themselves. The top panel is foundation pieced and grid stitched with a bit of markal stick for effect. The bottom panel is hand dyed fabric, appliqued grasses and freehand machine quilted. The beads joining the two are strung between some suede ribbon that I bought at the Festival of Quilts this year. Each panel is 18" square.

"Long Ponds"


Close up top panel
Close up bottom panel


Wednesday 5 December 2012

The West Country Quilt Show

At the Bath and West Showground this was the first year for this event and I entered two pieces in the Small and Large Wallhanging categories. I was delighted to win not only the Machine Quilting and Wholecloth prizes but also the large Wallhanging category AND best of all, Overall Winner with my entry 'The Westering Sun'.


The event was reported to be quite successful considering it was the first year and here's hoping that next year will see it better supported as it is a welcome addition to our area's quilting calendar!

Tuesday 27 November 2012

Christmas Quilting Workshop

I am holding my Christmas Workshop at Whitelackington Village Hall near Ilminster, Somerset on Thursday 6th December from 10am until 4 pm, £25 per person. There are a only couple of places left so please let me know soon if you'd like to join us.


We'll be making all sorts of decorative little bowls, hanging and table decorations and other doodads, many based on the 60 degree triangle of which I am very fond! Oh, and I'll be bringing lots of yummy homemade mince pies to share as well!

Monday 26 November 2012

Midsomer Quilting

I had a fabulous day yesterday at Midsomer Quilting teaching FMQ to a lovely group of ladies. I also delivered my entry to this year's challenge competition which will be on display in the shop from Thursday 29th November until Sunday 2nd December. The challenge was to make a 12" square quilt inspired by a book. For opening times and how to find them, see the Midsomer website. If you're going to the Quilt Show at the Bath and West Showground, you could pop along to the Midsomer exhibition as well and make a day of it. This is what I'm planning to do on Saturday so I might see you there! k3n x

Monday 29 October 2012

Pheasant Commission

This is a quilt I had intended to make for some time, using the same technique as my seagull in Flying High. Then a friend of mine asked me to make it for her husband's birthday - he's a farmer and he shoots locally with my partner Hans. So I agreed - it's a bit sad that he isn't ours, Hans was especially upset that he wouldn't be staying here. But he only lives up the road so we can visit him whenever we like!

The pheasant shape was cut from wadding covered with bondaweb and each feather was individually cut with scissors and laid in place. The head and neck features confetti (small scraps overlaid with Misty Fuse and thread painted) and applique. The spine of each feather was individually freemotion machine stitched. The woods behind are more confetti overlaid with tulle and threadpainted and the grasses were rotary cut freehand from pre-fused hand dyed fabric then individually thread painted. He was painstaking to make but I'm quite proud of him! I should say as well that his tail is made of real pheasant feathers, stitched on by hand and this was the most fiddly part of the whole thing! He is in fact slightly larger than lifesize and the quilt itself measures about a metre by 30" I think - I didn't actually measure it!

Pheasant Quilt

Close up of head

Wednesday 24 October 2012

Prize winning student

One of my students from last Spring's kaleidoscope workshop has won Best in Show at Tatworth Horticultural Show with the quilt she made during the workshop! I'm pleased as punch for her as it's well deserved. And apparently she's been well and truly bitten by the kaleidoscope bug - she's currently working on her fourth quilt using this technique. Well done Marion, keep 'em coming!

I'll almost certainly be running this workshop again next Spring - for details keep an eye on the workshop page on my website or email me and I'll put you on the waiting list.

Marion and her prize winning kaleidoscope quilt!

Wednesday 3 October 2012

Fabric Mosaic Tutorial

As promised...

Materials
  • a piece of wadding about an inch larger than the desired finished size - choose a low loft cotton or cotton blend wadding such as Quilter's Dream Cotton or Blend or Warm and Natural. A pure polyester wadding will possibly melt and compress when you iron it
  • 2 pieces of backing fabric the same size as the wadding
  • a piece of fusible the same size - I used Bondaweb (Wonder Under in the US), Misty Fuse would also work fine. I wouldn't use HeatnBond as a) I find it stiff and not nice to stitch through and b) I find it gums up the needle
  • fabric scraps in your desired colour pallette
  • small, sharp scissors
  • spray baste
  • a pressing sheet (can be the release paper from the Bondaweb)
  • quilting thread - I used a 30wt variegated King Tut. You need something quite heavy or you'll be thread painting for ever and a day!
  • embellishments as desired
Method

  • Fuse the Bondaweb to the right side of one of the pieces of backing fabric and lay this on top of the wadding and the second piece of backing fabric to make a sandwich. You may want to spray baste this to hold it all together
Showing the layers

 My piece will finish at 12" square so I cut the pieces 13" square

  • Assemble your fabric scraps and press them if (like mine) they're a bit scrumpled up!

  • Lay your piece on the ironing board if it fits or on a layer of towels on a table - you won't want to move it to iron it later
  • Start anywhere you like and cut the scraps to size with scissors and lay them on the piece, overlapping the edges by about 1/8" inch. I cut rectangles because I was going for a stone wall effect but you can cut squares or other shapes if you like - just be sure they overlap each other.

  • Cover the entire piece in this way
  • Lay a pressing sheet carefully over the piece and press, following the manufacturer's instructions on the brand of fusible you're using.
  • Let it cool then carry it to your machine and prepare to thread paint! I used a 30 wt varigated thread to represent the 'mortar' between my stones but you can choose a thread to blend or contrast as you wish.
  • Use your freemotion foot, dogs down and a 90/14 topstitch needle and outline each piece of fabric, as close to the edges as you can. If you want to pebble over squares, like the earlier pink 'bubblewrap' I posted, then go for it!
Starting to outline all the edges
 
  • Fill in between the stitching lines by heavily thread painting back and forth until you get the effect you want. The overlapping fabric is not held in place with fusible but I found it behaved pretty well, though now and then it lifted slightly and I had to poke it back down with the point of my scissors.
Thread painted between the 'stones'
Back view, showing extent of thread painting

  • You can then embellish further with beads, applique or whatever else takes your fancy. I didn't bind the edges, I just trimmed them to size and satin stitched them, adding little corner pockets for a hanging rod by gluing in place before I satin stitched. Hopefully the following pictures are self explanatory - any questions just ask!
Cut 2 squares of calico - for this little quilt I cut 3" squares - and press in half on the diagonal.
Glue the folded triangle together...
...and glue to the two top corners of the quilt, matching raw edges.

 
When you bind or zig zag/satin stitch the edges of the quilt, you attach the triangles at the same time - then insert a hanging rod - this is a bit of that plastic stuff you use to disguise wires against a wall!

I am not going to show the actual finished and embellished quilt at this stage as it is for Midsomer Quilting's annual mini quilt challenge - on display at their shop in December. Sorry about that, bit mean, I know! Once their exhibtion is over, I'll post a picture here - for those of you who can get along to Midsomer, I'd recommend it. Last year's exhibtion was fabulous and is available to view online via their website.

And if anyone is inspired to have a go at my version of fabric mosaic, I'd love it if you'd let me know and perhaps send me a photo! Happy sewing. k3n x
     

Friday 28 September 2012

Fabric mosaic

I've been experimenting (playing?!) with this fabric collage/mosaic technique over the last few weeks. I posted earlier the version I made with my children 'Light Through Leaves' where I used rough cut scraps spray basted to a background of wadding then FMQed. Here are some sneaky peeks of a larger work in progress using a similar technique only here I fused Misty Fuse to the wadding and cut the scraps roughly square. I then freemotion quilted pebbles in each square and then stitched heavily over the edges of the squares to hold down the raw edges where they overlap so are not fused. This also makes the pebbles really stand out - a bit like coloured bubble wrap!

Here's how it looks before it's stitched - the fabric squares are around a half inch square. The gold spirals were stencilled on with markal sticks.

Here's another piece already stitched - pink bubble wrap anyone?!

A more usual way of fabric fusing is to apply the fusible to the fabric before cutting the pieces out but as I wanted to use my oodles of tiny scraps, this would have been impossible. The only disadvantage of applying the fusible to the wadding is that the overlaps don't have fusible to hold them in place. This is overcome by the heavy stitching - plus a bit of raw edge showing here and there only adds to the texture and visual interest.
 
I used the same technique to make this little piece only here I stitched cobbles and swirly shapes as well and cut some of the scraps into logs instead of squares. Any shape would work as long as you follow the principle of stitching close to the edges around each scrap then overstitching heavily in between to hold down the unfused edges. This little piece is also embellished with some gorgeous sari silk ribbons I bought at the Festival of Quilts, couched yarns, beads and machine and hand embroidery. I had run out of Misty Fuse so I used Bondaweb instead and it worked just as well - it was very easy to hand stitch through too.
Strata I - 8" x 16"

Close up showing pebbled mosaic and sari silk

Close up showing cobbled mosaic, couched yarn, embroidery and beads


I am starting another piece today for Midsomer Quilting's mini quilt challenge using this same technique so I'll take photos of every stage and then post it later as a step-by-step tutorial. I hope you feel inspired to have a go! It's a great way to use your teeny scraps so watch this space as they say! Happy quilting. k3n x 


Friday 21 September 2012

Kaleidoscope Workshop

Here are some pictures of my latest kaleidoscope workshop in Whitelackington Village Hall. I never tire of teaching this technique - even when students have a fabric I've seen used before, the quilts come out completely different. And all the ladies' enthusiasm and excitement for the 'magic' way their fabric is transformed is a joy to behold! One lady already had a second fabric to show me to make another quilt on her own and others were talking about buying more fabrics to make more. I did give a health warning that these quilts can be addictive ( I think I've personally made getting on for 30 of them). It's a wonderful way to use those gorgeous large print fabrics that don't really suit traditional patchwork patterns and everyone I've ever taught this to has loved the fact that their quilt is truly unique and that they have designed it themselves. Thanks ladies for a great two days and all your quilts are beautiful. Now go and make more! :-D!


Happy ladies working away!


Jane's Quilt
Jean's Quilt


Jenny's Quilt

Kim's Quilt

Lisa's Quilt

Liz's Quilt

Maggie's Quilt

Sue's Quilt (and some of her fingers!)

Thursday 6 September 2012

Feather Doodles

This project started with a long, thin strip of Heide Stoll-Weber hand dyed fabric - the piece I cut out from behind the felted section of "The Westering Sun" here. Well it's too beautiful to waste, isn't it? I had it up on my design wall while wondering what to do with it so I decided to quilt a feather on it! Oh, and some pebbles! Then I had the blue/green section of fabric that I'd cut off from the bottom of the background of that same quilt and another piece of Heide Stoll-Weber (pinky purple) that I bought at the Festival of Quilts this year, so I doodled three different feather designs on paper and then freehand machine quilted them onto the three different pieces to be hung as a triptych. I marked the spines on each piece with my flexicurve so they're the same. I have coloured in the raised parts of each feather with a different coloured markal stick. Here's the first one finished - the blue/green - actually the second one to be quilted, hence "Feather Doodle II". The others still need the binding to be hand sewn in place and one still needs colouring with the markal stick. As soon as they're done, I'll post a picture of all three together.

"Feather Doodle II"

Thursday 30 August 2012

Fabric Collage

So easy it's childsplay - literally! I have been wanting to try this technique for a while and have dabbled round the edges of it a little, with my "Flying High" quilt for example (http://www.theartofquilting.co.uk/index_files/FlyingHigh.htm). But having seen Kate Dowty's gorgeous work at the Festival of Quilts, and having a chat with her when she generously answered all my questions about her take on this technique, I thought I'd have a play with it with my two children, Joey aged 10 and Lily aged 8-next-week, scaling down and adapting it to make it child-friendly.

We worked on small pieces - Joey's 12" square, Lily's 12" x 15" and mine about the same. We cut pieces of wadding to the desired size ( I like Quilter's Dream Blend which is low loft and very stable, available from Cottonpatch). Then we spray basted with 501 and started to build up our pictures using scraps of fabric cut with scissors, making sure we overlapped the edges slightly so no wadding showed through. For Joey's quilt - "The Earth is NOT a Scrapyard" (his title), we drew round a plate first to mark the circle on the wadding, then I rotary cut a circle out of a square of black fabric to make the frame which we applied after he'd stuck all his scraps in place. For the mountains on "Lily's Landscape", we ironed some fusible to the piece of fabric and she drew the mountain shape on the paper side and cut it out, then we simply pressed it in place. Then we stitched over the pieces. Joey did a freemotion meander over his in a variegated blue/green thread except for Antarctica at the bottom where he used white. He then hand stitched white and silver beads onto the black frame to represent the sky. Lily did some freemotion wiggly lines in her foreground then softened the base of the mountains with some threadpainted grasses. She stitched wavy lines across the sky using a walking foot then hand stitched some yellow and pink beads in a circle on the sky for the sun.


Joey with "The Earth is NOT a Scrapyard!" and Lily with "Lily's Landscape"


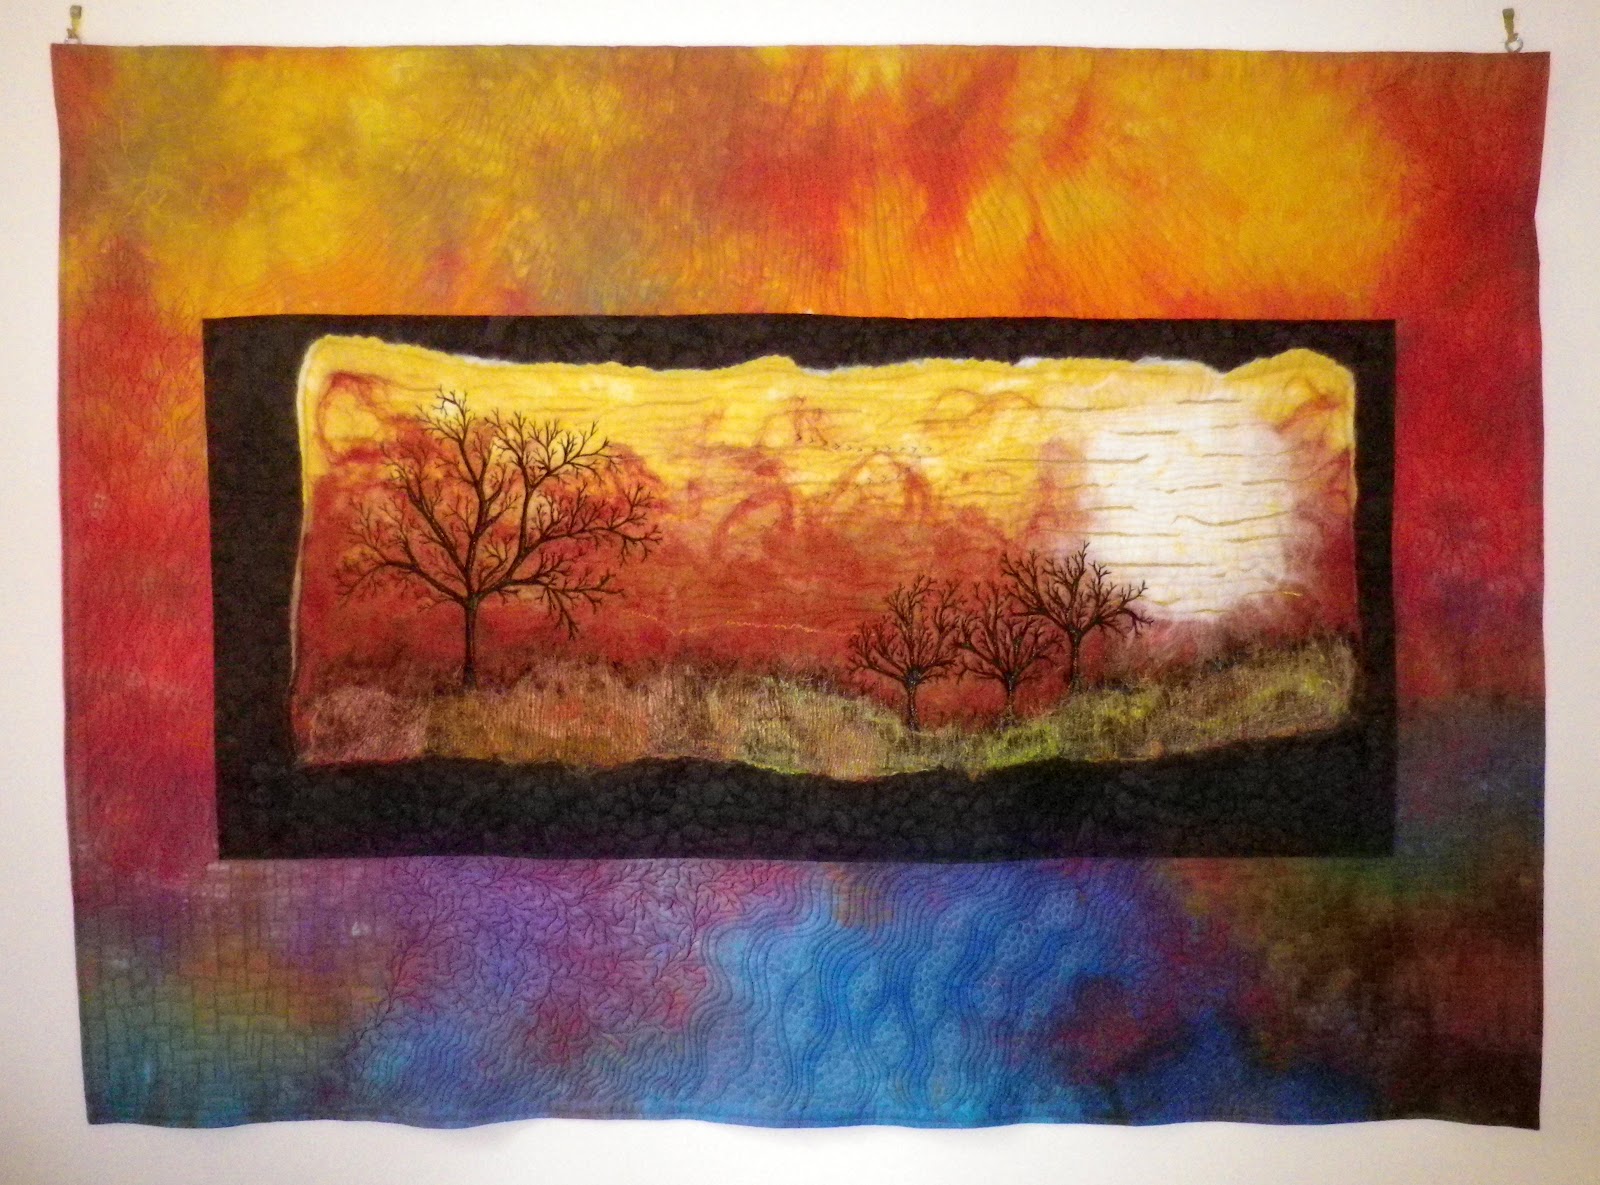
My quilt is "Light Through Leaves" - I freemotioned wavy lines though the central diagonal light section then stipple meandered the darker corners for contrast. To finish the edges, we just trimmed them square then went round with a zig zag, adding corner pockets to the back for a hanging rod.

 
"Light Through Leaves"
 
 
To make a larger piece, this spray baste method probably wouldn't work. As you manipulated the piece thought the machine, the scraps would fall off. For a larger piece you would have to work in sections, stitching the scraps down as you went - but the spray baste holds well enough for small quilts like these. It was fun and as you see perfectly achievable for the children - all I did for them was the rotary cutting and ironing.

Sunday 26 August 2012

New look website

Just spent the best part of the weekend redesigning and updating my website. Technology is not my favourite thing but with masses of help from Hans, we got there in the end without too much bad language! Have a look www.theartofquilting.co.uk.  Happy Bank Holiday!

Wednesday 22 August 2012

Festival of Quilts

I went on Saturday with my boyfriend Hans and my friend Marilyn and what a fabulous show. My personal favourite was the Snake Goddess quilt by last year's best in show winner, Janneke de Vries-Bodzinga. This didn't win anything this year (shame!) though she did win the Pictorial category with another stunning African-inspired scene. The winner's list will be posted on the Twisted Thread website in due course. www.twistedthread.com.

I was absolutely delighted to get a Highly Commended for my own Pictorial Entry 'Genoeg Ganzen' - Dutch for 'Enough Geese'. The background for the piece is a silk/hemp blend I bought at a Farmer's market when I lived in France. The geese are made from a piece of Den Haan and Wagenmaakers' Dutch chintz fabric (google them, fabulous fabric, quite dear but worth it!) with the one seam method, meaning the edges are on the bias so can be curled over and stitched down cathedral windows style. They are also 3D and are padded with wadding to give them further dimension. The silk/hemp background was shaded with markal sticks before being freehand machine quilted.

The name was provided by my Dutch boyfriend - I like the alliteration as well as the sound of it with the gutteral Dutch 'g'. The inspiration came from driving home to the West Country in winter and the sun setting behind the bare trees. Ooooh! Still thrilled to bits about my 'Highly Commended'!!! :-D

Felted piece "The Westering Sun"

Finished! I was going to embellish it further but then decided that the little skein of geese in the sky was enough.
I've done a second workshop with the lovely Tracey and that piece - based on a night sky - is now awaiting stitching treatment. If you're interested in doing a felting workshop in Somerset, just send me an email and I'll pass on Tracey's details.


Friday 20 July 2012

Frame for felted piece

Here's a peek of the FMQ so far - this Heide Stoll-Weber cotton sateen is a dream to quilt on!

Friday 13 July 2012

Quilting on felt

I did a felting workshop a while ago - as a student for a change - with the lovely Tracey and created a sunset with merino wool. Now I've started to 'quilt' it and plan to mount it onto a large piece of hand-dyed Heide Stoll-Weber fabric I bought at the Festival of Quilts a couple of years ago. Here's a sneaky peak...

Tuesday 22 May 2012

Kaleidoscope workshop - Whitelackington

I recently had my last workshop of the Spring term - my three part kaleidoscope course - and here are some pics of the ladies' beautiful creations!

Bridget's Quilt

Jackie's Quilt

Jacqui's Quilt

Jill's Quilt

Jilly's Quilt

Marion's Quilt

Marjorie's Quilt

Sue's Quilt